

Ever have one of those days where you just don't feel like putting a leftover scrap of food into a separate container to put into the fridge? Or maybe there's something you just want to refrigerate for a brief length of time and don't want to clean yet another dish, or maybe even just carry something to a potluck?
These super easy DIY fabric plate covers are one of my favorite time savers. My husband especially loves using them, since he hates doing dishes.
They're also incredibly cheap and eco-friendly, because you can use up leftover fabric scraps, or a fat quarter (a slice of fabric available at most fabric stores). I made 1 large plate cover, 1 smaller plate cover, 2 cups covers and 3 bowl covers out of 2 fat quarters that I picked up for $1.25 each = awesome deal!
Here's how you can make these fabric plate covers in just a few minutes with minimal equipment.
What type of fabric can you use?
I used cotton fabric, but I think that laminated cotton would be even more fabulous, as they could easily be wiped down and reused without having to wash them all the time. I would avoid anything that has a lot of loose fibers (you don't want fibers falling into your food), that frays too much, or is too thin (i.e. chiffon would not be good for this!). Also, darker patterns are probably a good idea, because if you get oil stains on these, or other types of stains, that don't wash out, dark patterns will hide them the best! I think patterned cotton and linen are both great.
Alternatively, using old clothes or bedsheets/pillowcases that have been well washed would be a great way to upcycle fabric :)
Materials needed to make the plate covers:
Fabric (i.e. 1 fat quarter makes 1 large plate cover, 2 cups and 1 bowl cover) as needed, depending on how many and what size of dish you are covering
thin elastic (i.e. 1/4")
Pinking shears (optional, but make a nicer, non-fraying finish) OR rotary cutter or sharp scissors
Sewing machine & thread
Directions to make the dish covers:
Step 1: Wash your fabric. This is important. If you skip this, and make your covers, then wash them, your fabric could shrink, and that sucks.
Step 2: Turn your fabric right side down. Place the item to be covered on top of the fabric and, using a pen or tailor's chalk, trace your item, adding about 1 1/2" around. (you can faintly see this below around the plate) Don't worry, this doesn't have to be anywhere near a perfect circle. Mine sure weren't!!
Cut out the circles using pinking shears, or other cutter.

Step 3: Pin one end of the elastic to the wrong side of the fabric, about 1/8" inside the pinked / cut edge. I used some pretty reddish elastic that I had bought on sale super cheap ages ago.
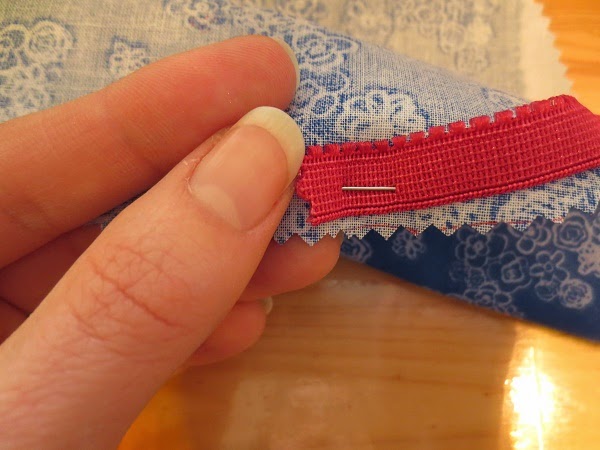
See? It's pinned on the wrong side / inside.
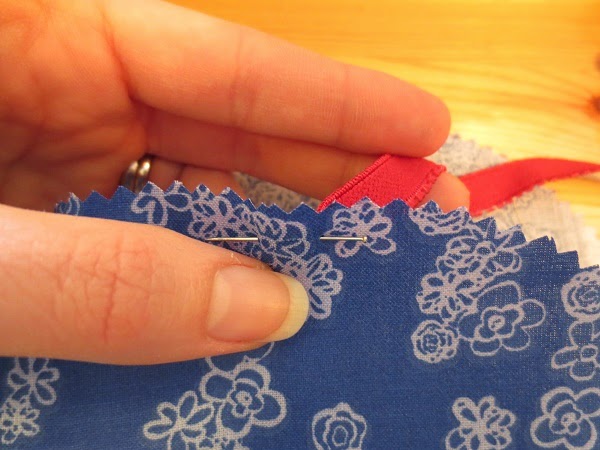
Step 4: Set your stitch for a medium-sized zigzag stitch. Place the fabric right side up, just before the pinned elastic, under the needle of your machine. Run a few stitches forward over the elastic, then backstitch 3-4 stitches to secure. Remove pin.

Step 5: This part isn't terribly tricky, but if you're not an experienced sewer you'll want to pay attention here.
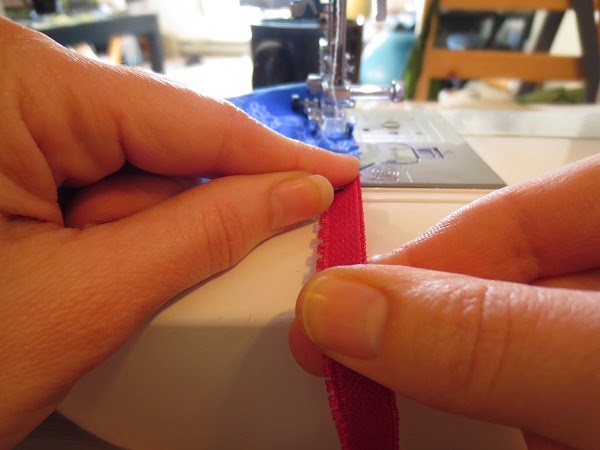
Now you're ready to sew your elastic in place. To do this, you'll want to pull / stretch the elastic fairly taut with one hand as you begin to sew (slowly, until you get the hang of it!), while using the other hand to tug the fabric over to cover the elastic. If you don't pull the elastic, well, your covers won't work.
When you reach the end of the circle, overlap the elastic about 1/4", backstitch a couple of stitches, and snip thread.
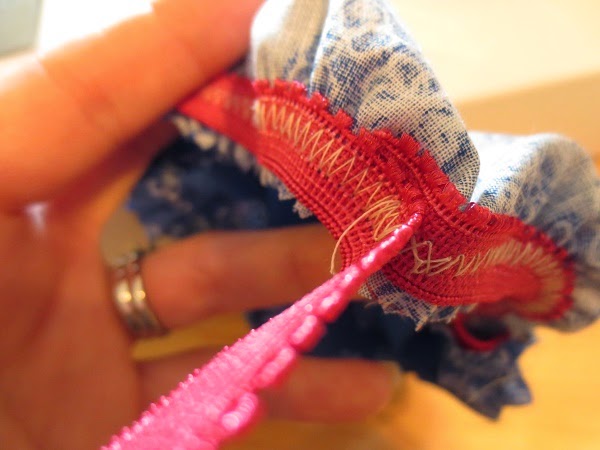
Snip off the excess elastic.

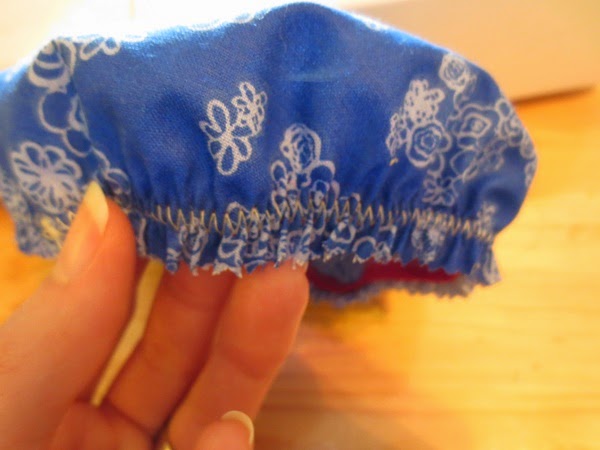
This is what it looks like on the outside.
And the inside.

And Voila! I think it actually takes less than 15 minutes to make one of these. I didn't do a very good job of timing myself, but I think I made all my covers in about 30 minutes.
These are the different sizes I made. To wash them, I just toss them in with my regular laundry.

I hope this helps you find yet another use for scrap fabric!
If you liked this tutorial, you might want to check out some of my other ways to use up scrap fabric, such as:
No comments:
Post a Comment
I'd love to hear from you so go ahead, leave a comment!